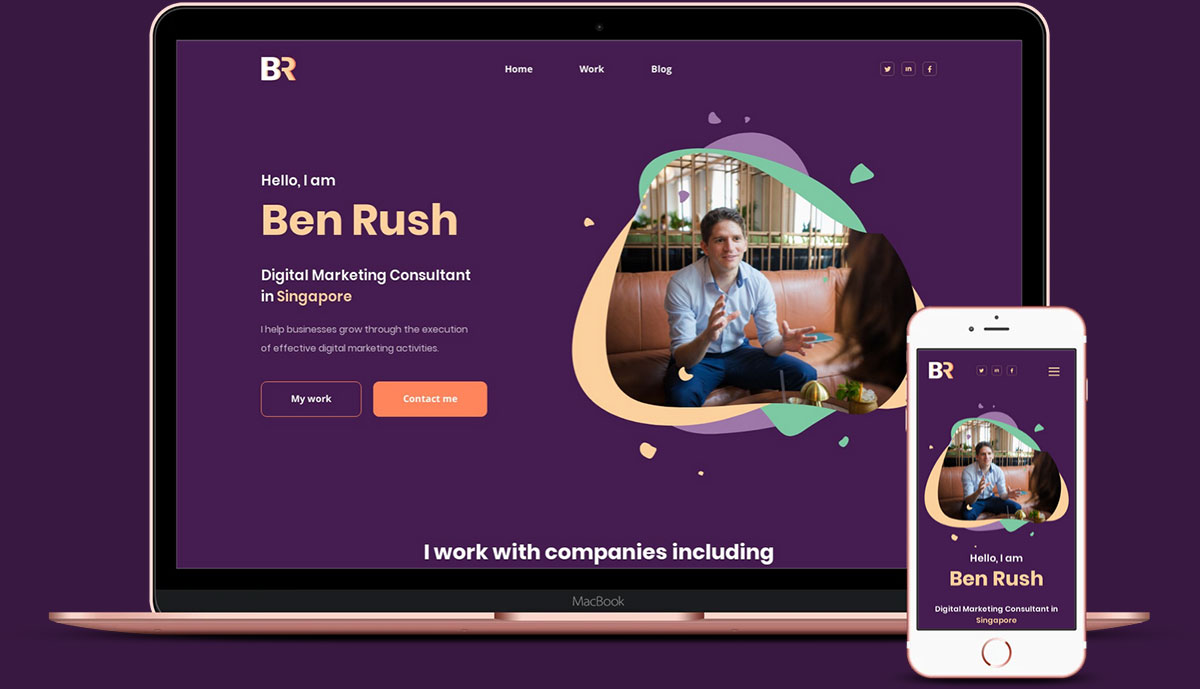
In a world where websites in particular are becoming heavily templated and commoditized, the imagery you use can help to differentiate you from the crowd. Good imagery can also take your boring, text-heavy presentation to a new level, without costing you hours of effort to produce.
In this article, I wanted to share some actionable tips and tools that I personally use to produce great imagery for presentations, websites, and social media. There is absolutely tons of additional tools and sources out there, so this is not intended to provide a plethora of options, but it will give you practical tips that you could start leveraging today to raise your imagery game.
How to quickly create professional mock-ups
Let’s start by touching on an area of image creation that is great for presentations, case studies, and websites. Let’s say for example you want to showcase a website on multiple devices in a PowerPoint presentation or add your logo to some mock-ups like t-shirts, mugs, etc.
My favorite tool for this is Smart Mock Ups which I’ve been using for a few years now. It provides a ton of ready-made mock-ups in various settings and allows you to either upload an image and have it placed within the mock-up, or request the tool to fetch and render a URL as I have done in the below example. Its an incredibly fast way of producing high-quality visuals that can be leveraged for value across many areas. I regularly need these kinds of shots for customer case studies, presentations, social media, etc.

There’s probably no situation where I would ever need to put the FrameIT logo on a cup, but just to show you a variation of mock-up options available, here we go. At the current count, there is just under 1,700 unique set-ups to choose from, and these cover a wide range of settings.
Product / Company Imagery
There are many use cases where you may also need specific images for use across your website, marketing collateral and social media. This can range from featured images to mockups of your products in real-life settings.
Of course, in a perfect world, you might hire a professional photographer and get a bunch of great photos, but that will come at a high cost and the photos might still not be exactly what you want.
The other option is to take your ‘ok’ but not great photos and engage a professional to work their magic. Now, if like me you aren’t a whizz kid on Photoshop, and simply don’t have the desire to become one, then worry not – you can find and leverage so many good quality freelancers via sites like Upwork. I have a great photo editor to recommend if you ever need someone.
This image below is taken with a very standard camera and its probably fair to say the photographer isn’t a professional. There are countless problems with this image.
- The background needs to be completely stripped away.
- There are reflections in the acrylic.
- Someone’s hand is holding the frame at the top.
- Worst of all, and don’t ask me why……but they forgot to take the blue wrapper off the frame.
You’re probably thinking – let’s just scrap that one? but actually, a good photo editor can easily save this and turn it into something valuable to the business.

This is the end result of a professional editing the above photo. This is now a great product photo that can be used to showcase options for framing a football jersey.

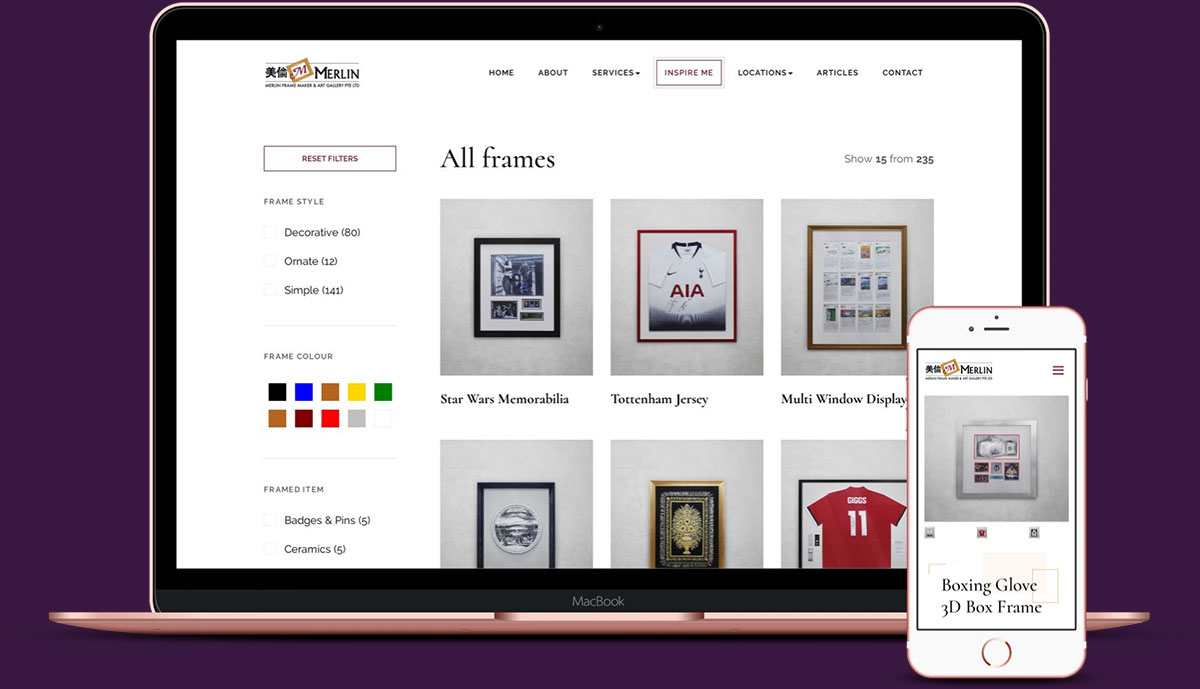
I used this process for Merlin Frame Maker, creating over 230 individual product shots that enabled them to showcase their work to customers, and allowed customers to get inspiration from similar items. Of course, hiring a professional photo editor involves paying for this output, but usually, you wouldn’t be going to the extreme of editing 230+ images, you may only need a small selection. Per image, depending on how good/bad the originals are, you might be able to negotiate to somewhere between $5-$15 per image.

Hopefully, these quick tips and tools prove useful to someone – any other suggestions or questions please feel free to get in touch.


